

Writing Comics Scripts When You're Not a Writer
From loose beats in a sketchbook to a printed, annotated script — here's my four-stage writing process.

Hi there!
This week, I’ve been doing more work on the script for issue #4, so I thought I’d write a post about some tools I’ve found helpful for my writing process. I don’t often write about writing, mainly because I don’t really consider myself a “writer” except by dint of the fact that Steamroller Man and the other characters in the comic say stuff, and there are words on the page that I made up. I’m feeling my way through this writing stuff and learning by doing it!
The Brainstorming Stage
Tools:
1 Brain (minimum, REQUIRED)
1 pencil or pen
Paper as needed
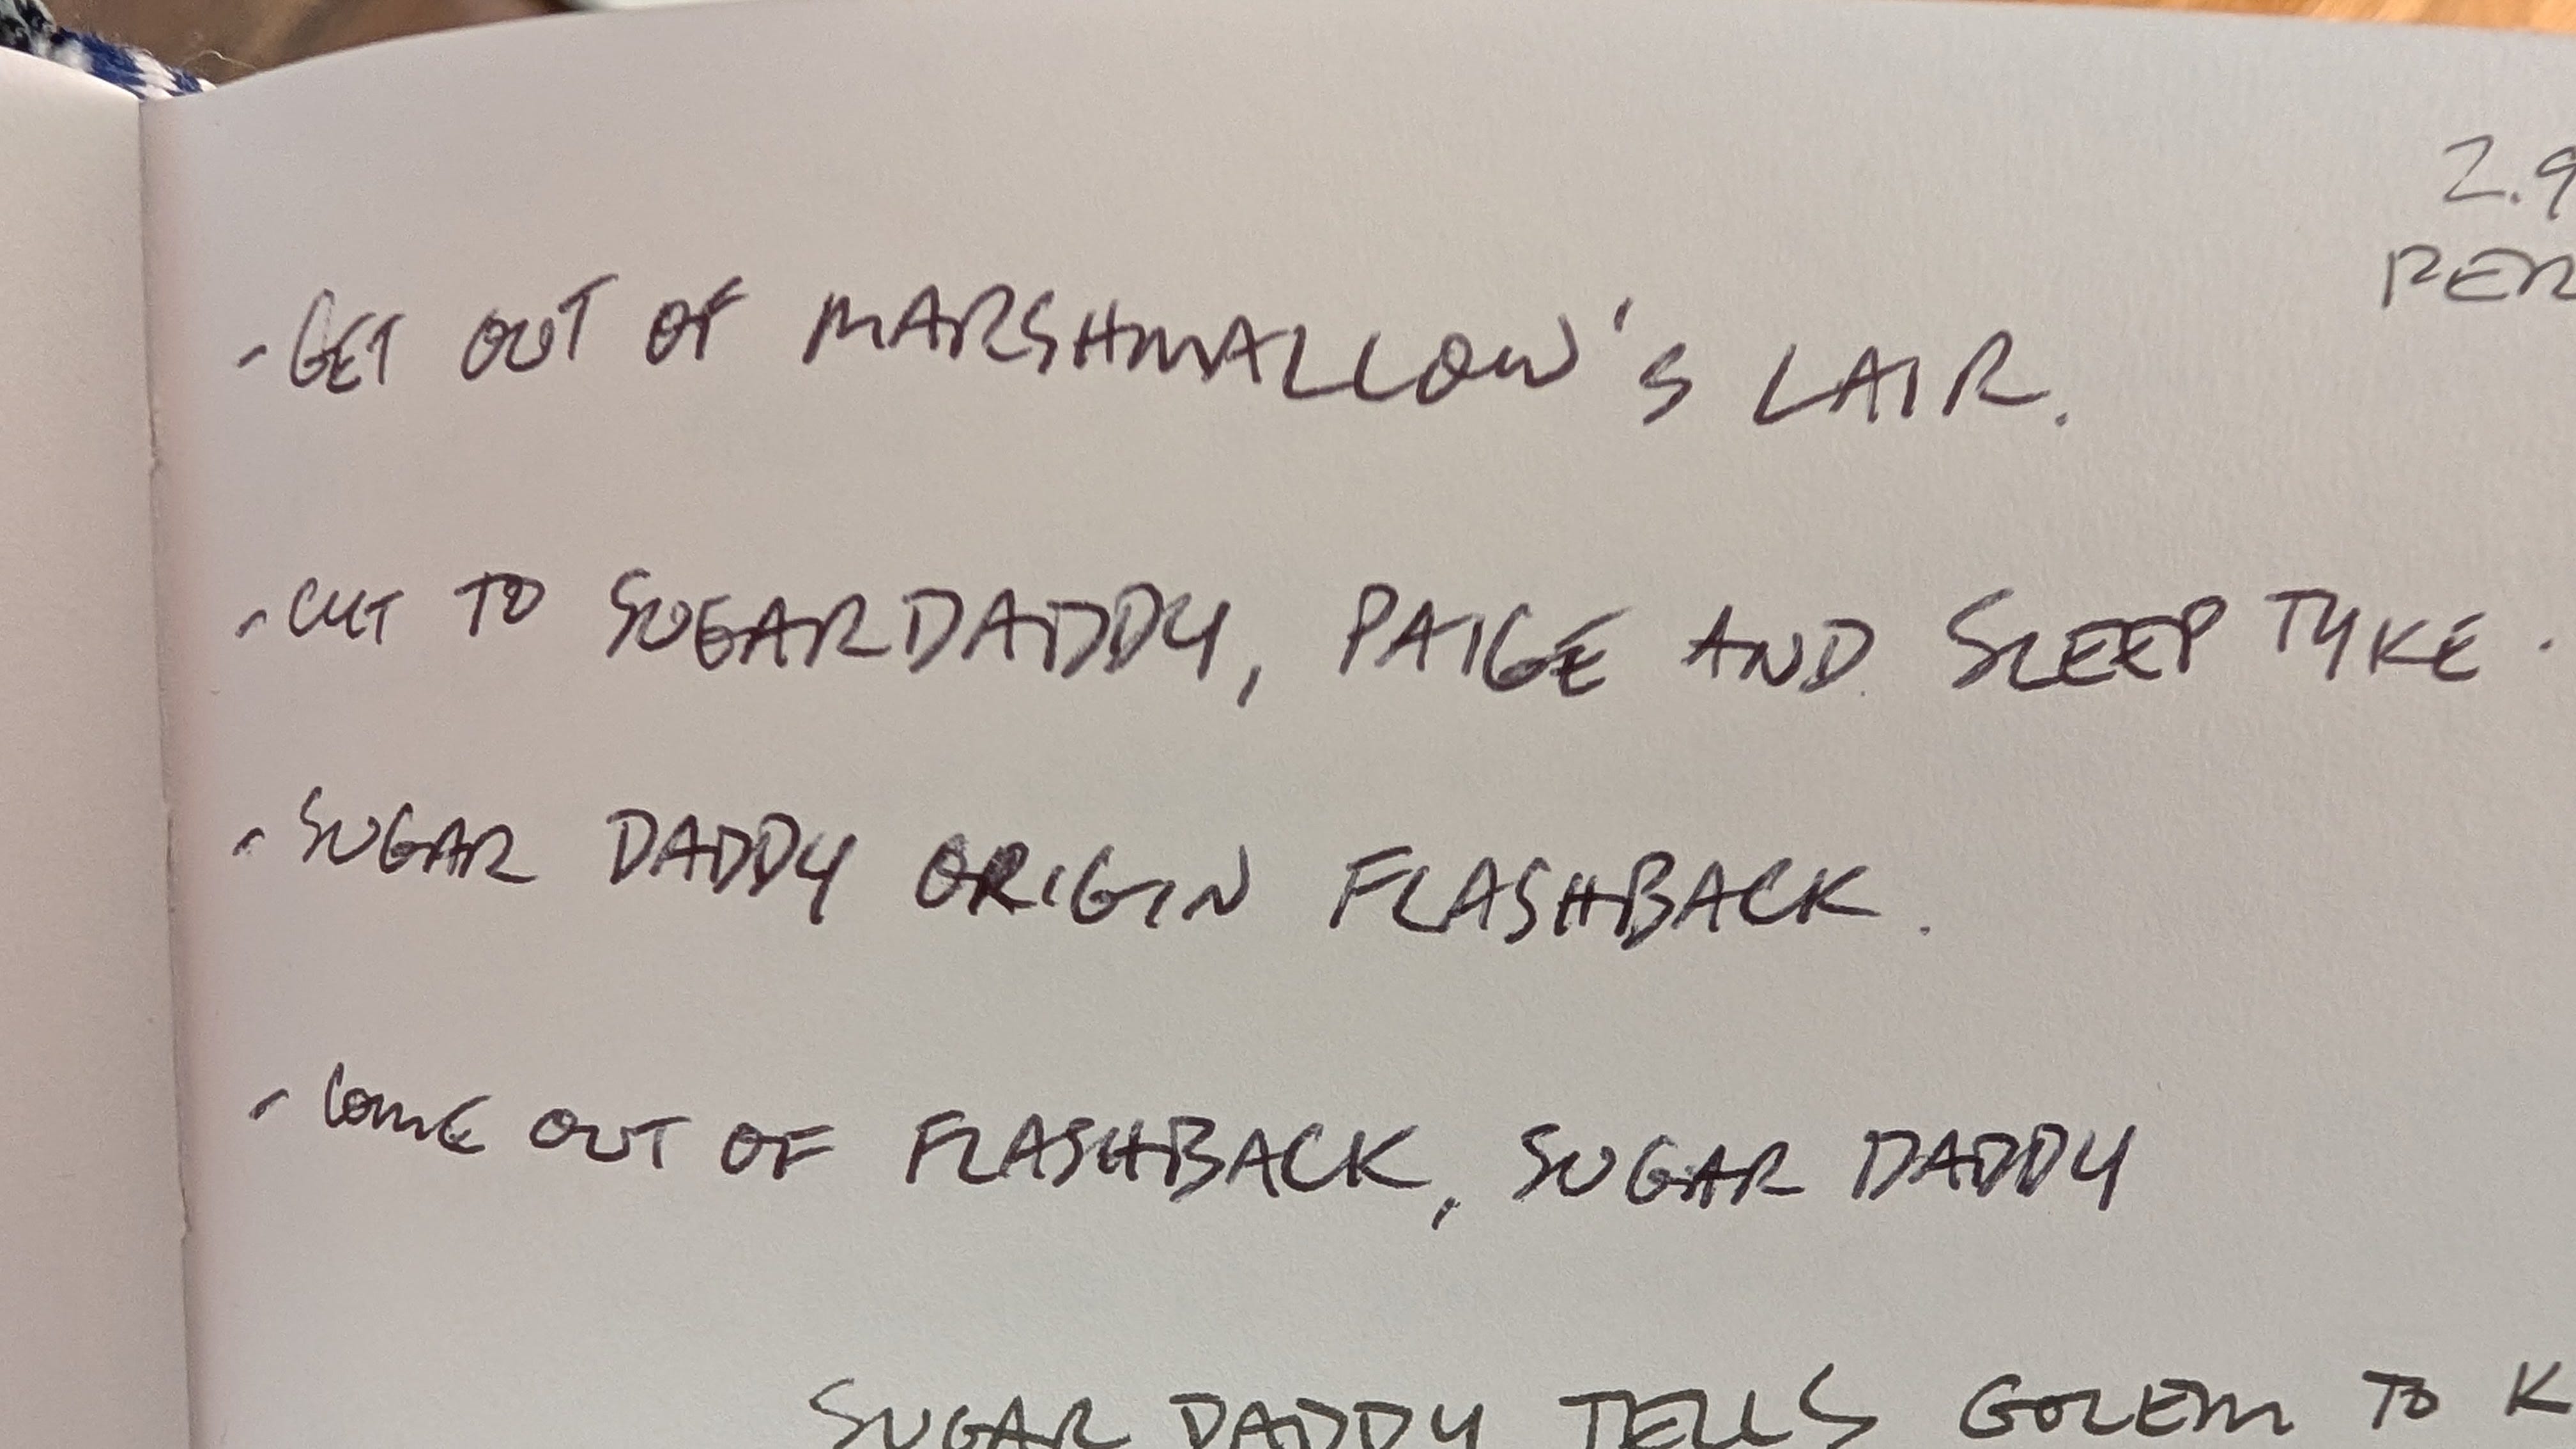
I start in my sketchbook, writing down very broad “beats” that I know I want the story to cover in the issue. In a way, it’s similar to the way I draw - I work on the large shapes and composition first, and work my way down to the finer details. I find it’s best to keep things general and broad at this point - the way you would summarize the issue if you were telling a friend about it right as you had to get on your train before the doors closed. “It’s about this, then that and then there’s this crazy fight sequence, gotta go, bye!”
In a practical sense, I find it’s useful to have a notebook or sketchbook to write this stuff down in; individual pieces of paper can get mislaid or accidentally thrown away. Having one place you know you wrote something down is good insurance.
(I’ll contradict this advice in the next step, though - I did say I’m feeling my way through!)
The Index Card Stage
Tools:
Index Cards or Individual Pieces of Paper That Can Get Mislaid


I wrote about using index cards a while ago, but I’ll recap here as part of describing the larger process. The index card stage is about visualizing the story as comic pages - or, perhaps pre-visualizing would be a better word, since there are no literal visuals yet.
Each card represents a single page of the final comic, to help work out how many pages you will need to tell the story - which is definitely something to consider if you want to print it, but it will also help you to predict how much work you’re looking at to actually draw the whole thing, and gird your loins accordingly.
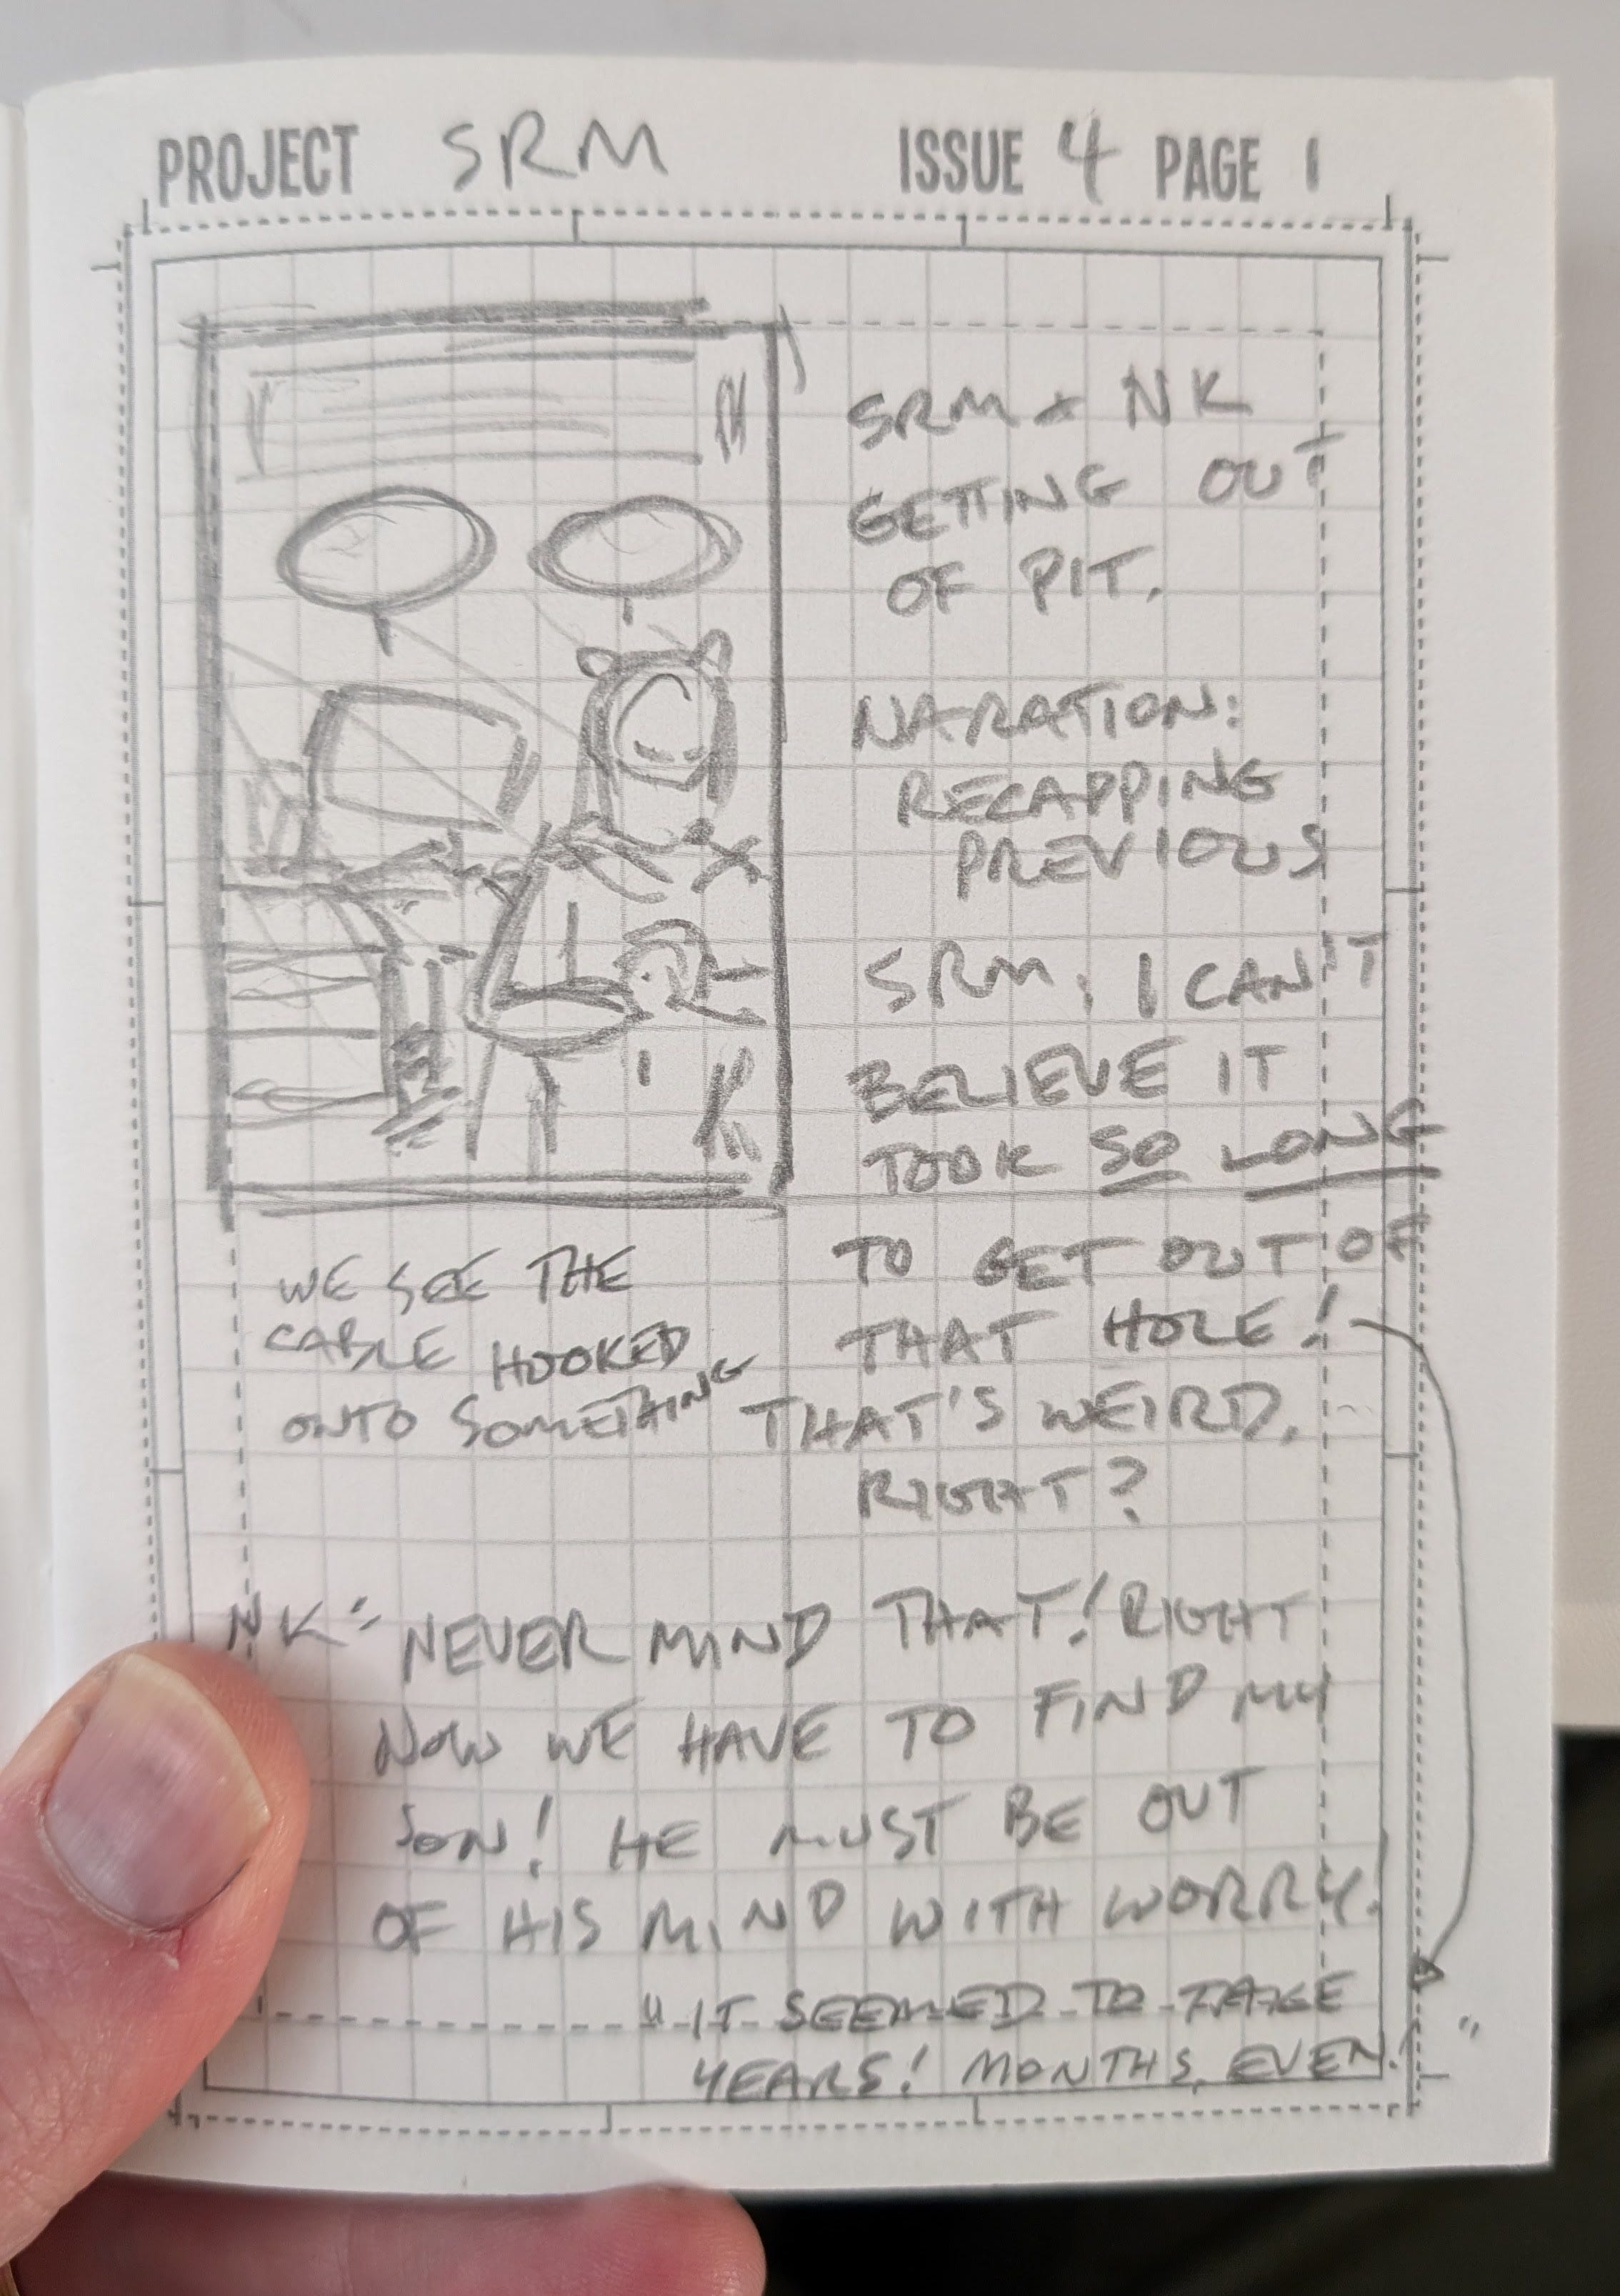
At this stage, I’m thinking about how much action I can fit on a single page. I take the broad story beats from the previous page and break those down into smaller actions. So, for example the beat “GET OUT OF MARSHMALLOW’S LAIR” becomes one index card representing Page One of the comic, which is shown in the photo above, on the right.
Perhaps most importantly, I’m using this stage to work out which pages need page-turn reveals to give impact to story moments or joke punchlines (I wrote more about this here).
The “Making It Into A Script” Stage
Tools:
A computer
Superscript App

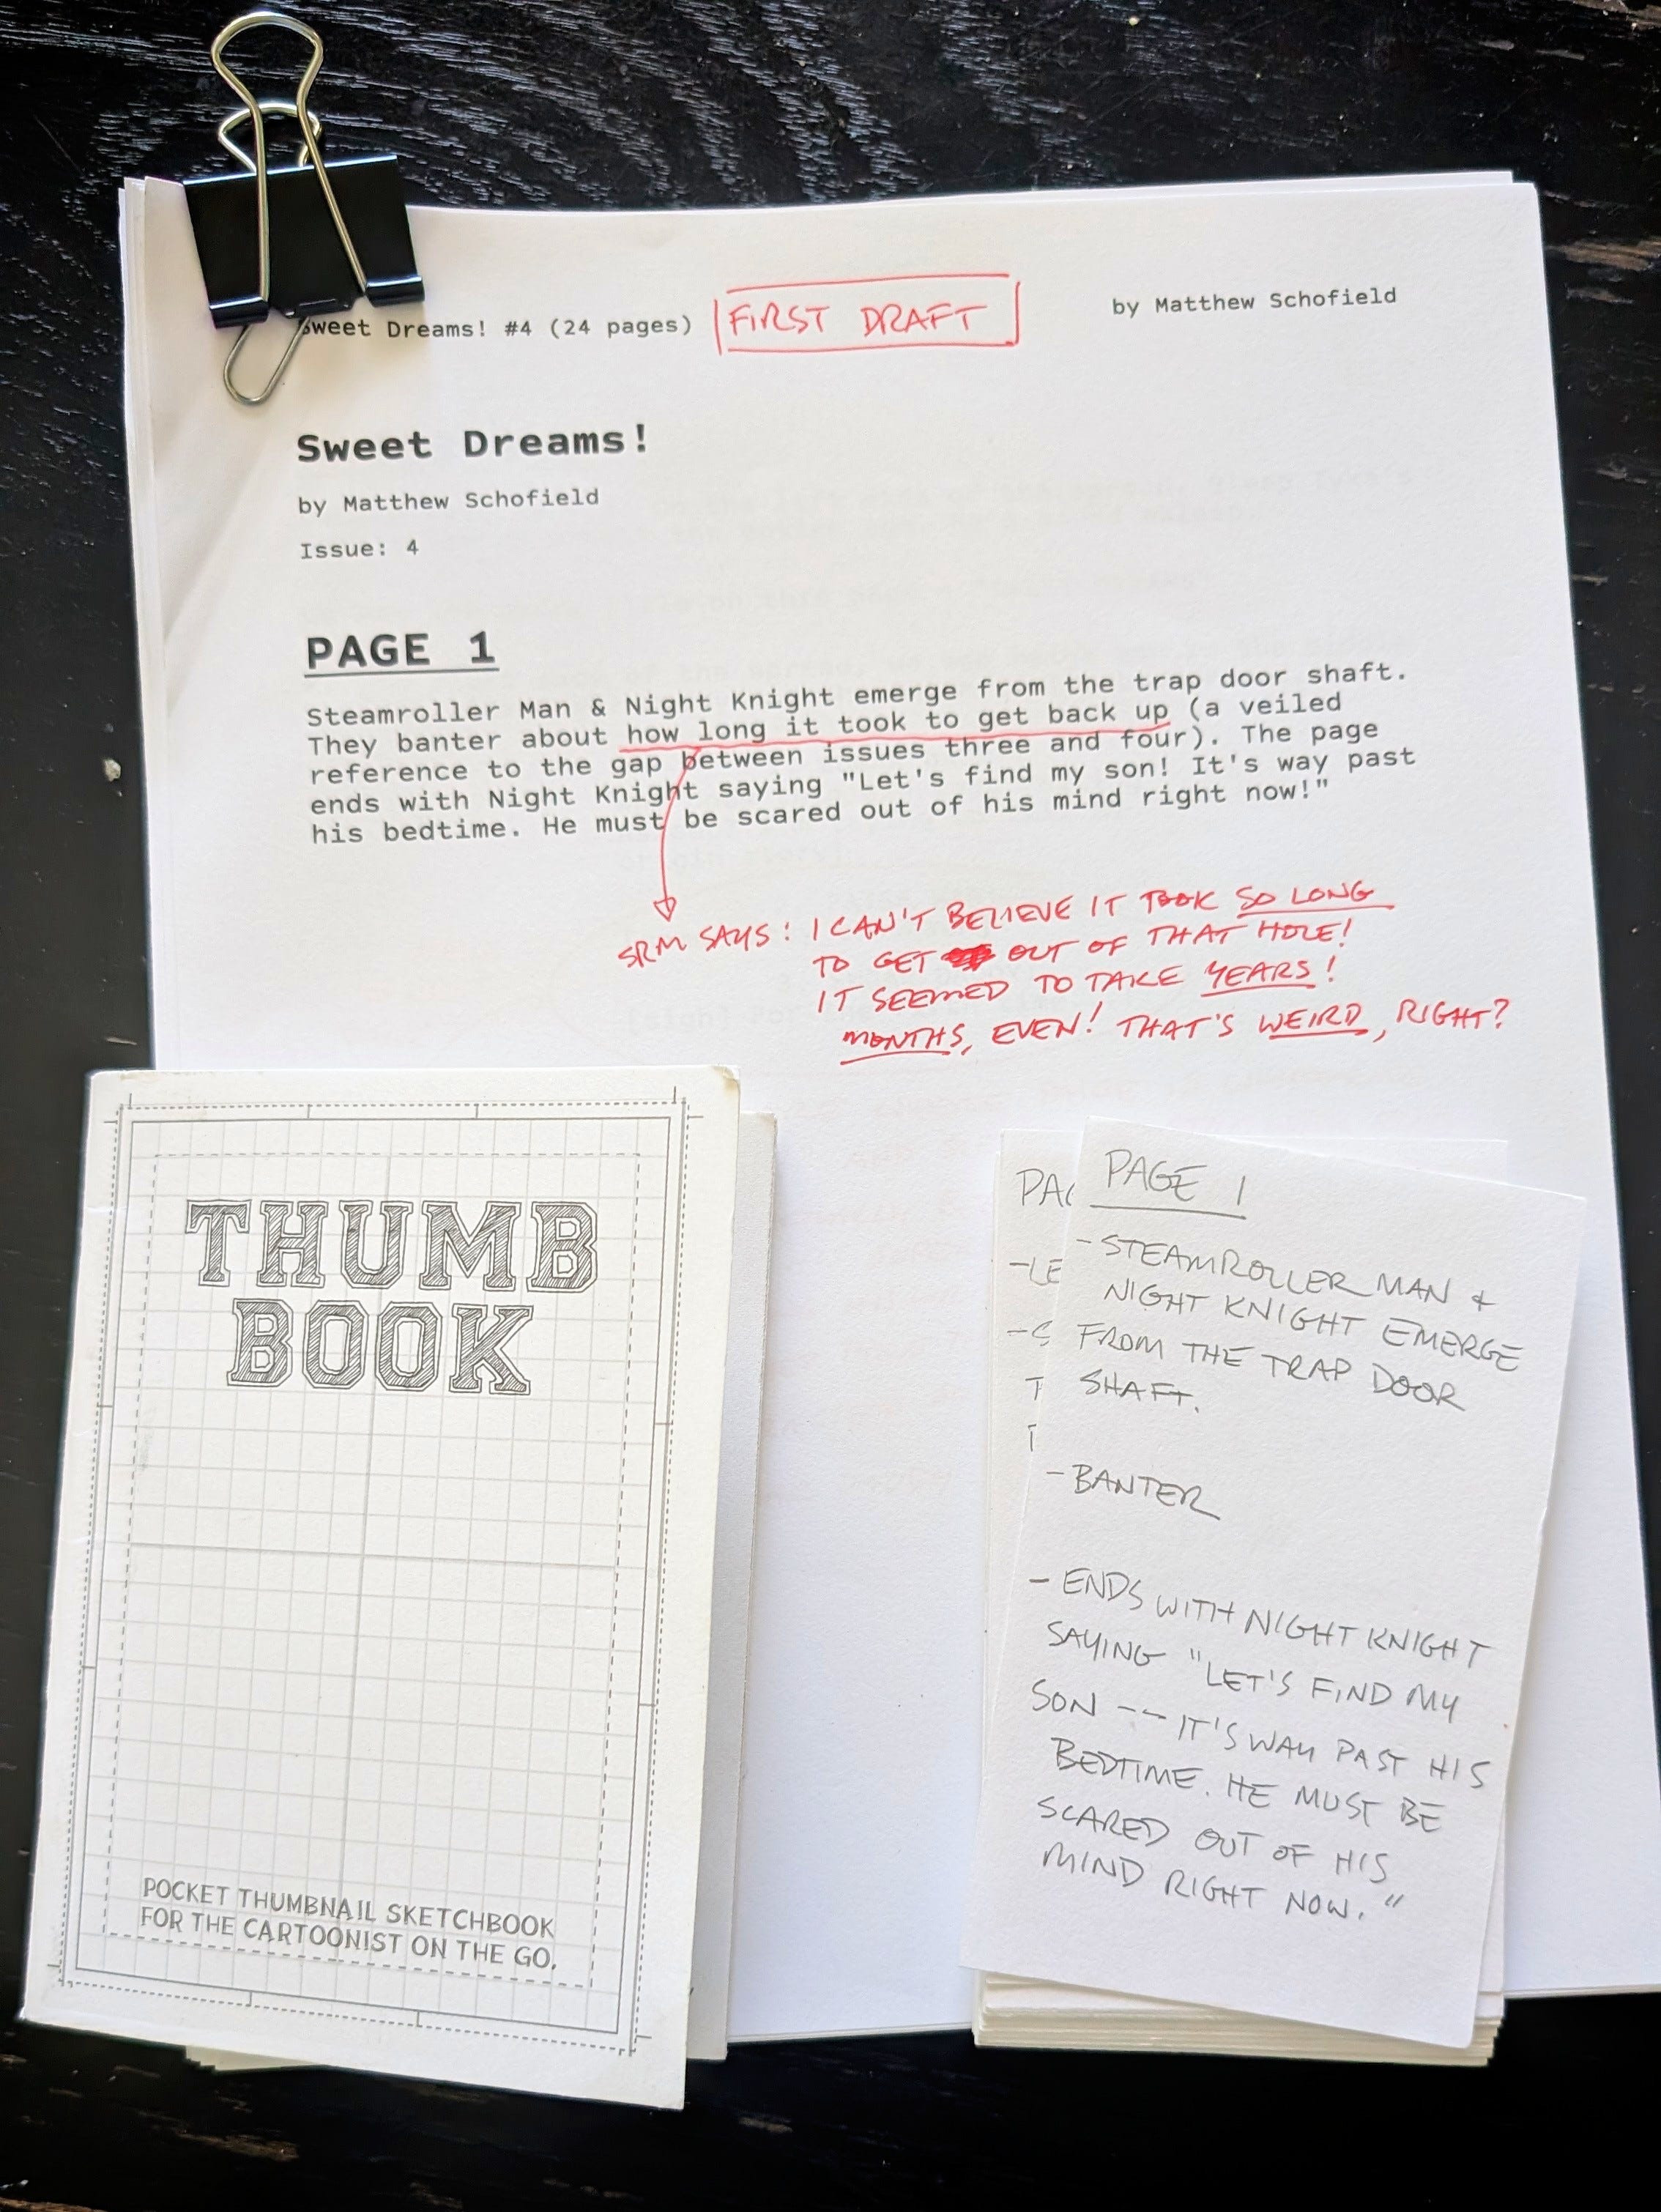
This is the first real, printed script I’ve ever created for Steamroller Man! I use a really nifty software application I found called Superscript, which is specifically designed for writing comic scripts. The one thing I absolutely LOVE about this software (apart from the fact that it’s FREE) is that it automatically renumbers your pages or panels within a page if you suddenly realize “ahh crap, I thought this would all fit on one page but it’s actually going to need two” or “ahh nuts, I need to add an extra panel between panels two and three on this page”. This was an annoying problem I was having when I was trying to create my script in Google Docs. Superscript to the rescue!
I type the content of each index card into a new page in the script document, pretty much verbatim.
This creates a digital file of my page breakdown, which I also back up to cloud storage. This way, if the index cards get misplaced or damaged, I don’t have to worry.
I then print out the document and carefully read through it. Superscript automatically formats your page descriptions onto separate pages of your document, so that if you print it out, each comic page has its own sheet of paper - this is great for thumbnailing panel layouts or adding notes!
As I read through the printout, I was coming up with new ideas for dialogue; I noticed missing story information that needed to be included in certain spots; I found places where plot details could be reinforced or called back from earlier in the story, to tie everything together and make things clearer for the reader.

I was amazed at how my brain really seemed to thrive when working with physical media!1
The process of making notes on the printout seemed to generate new ideas, and new connections between the ideas I already had that made the whole story gel together better!
The Thumbnail Stage
Tools:
A Thumb Book
A pencil
I’m including this stage as part of my writing process because sometimes, if I get stuck in the previous stage, trying to work out how a bit of story business should take place, it often helps me to just start thumbnailing out the page layout. This will help me break down the action I want to depict into separate moments/panels, which then gives me a more defined idea of how much action can fit on the page and how it can work most effectively to tell the story.
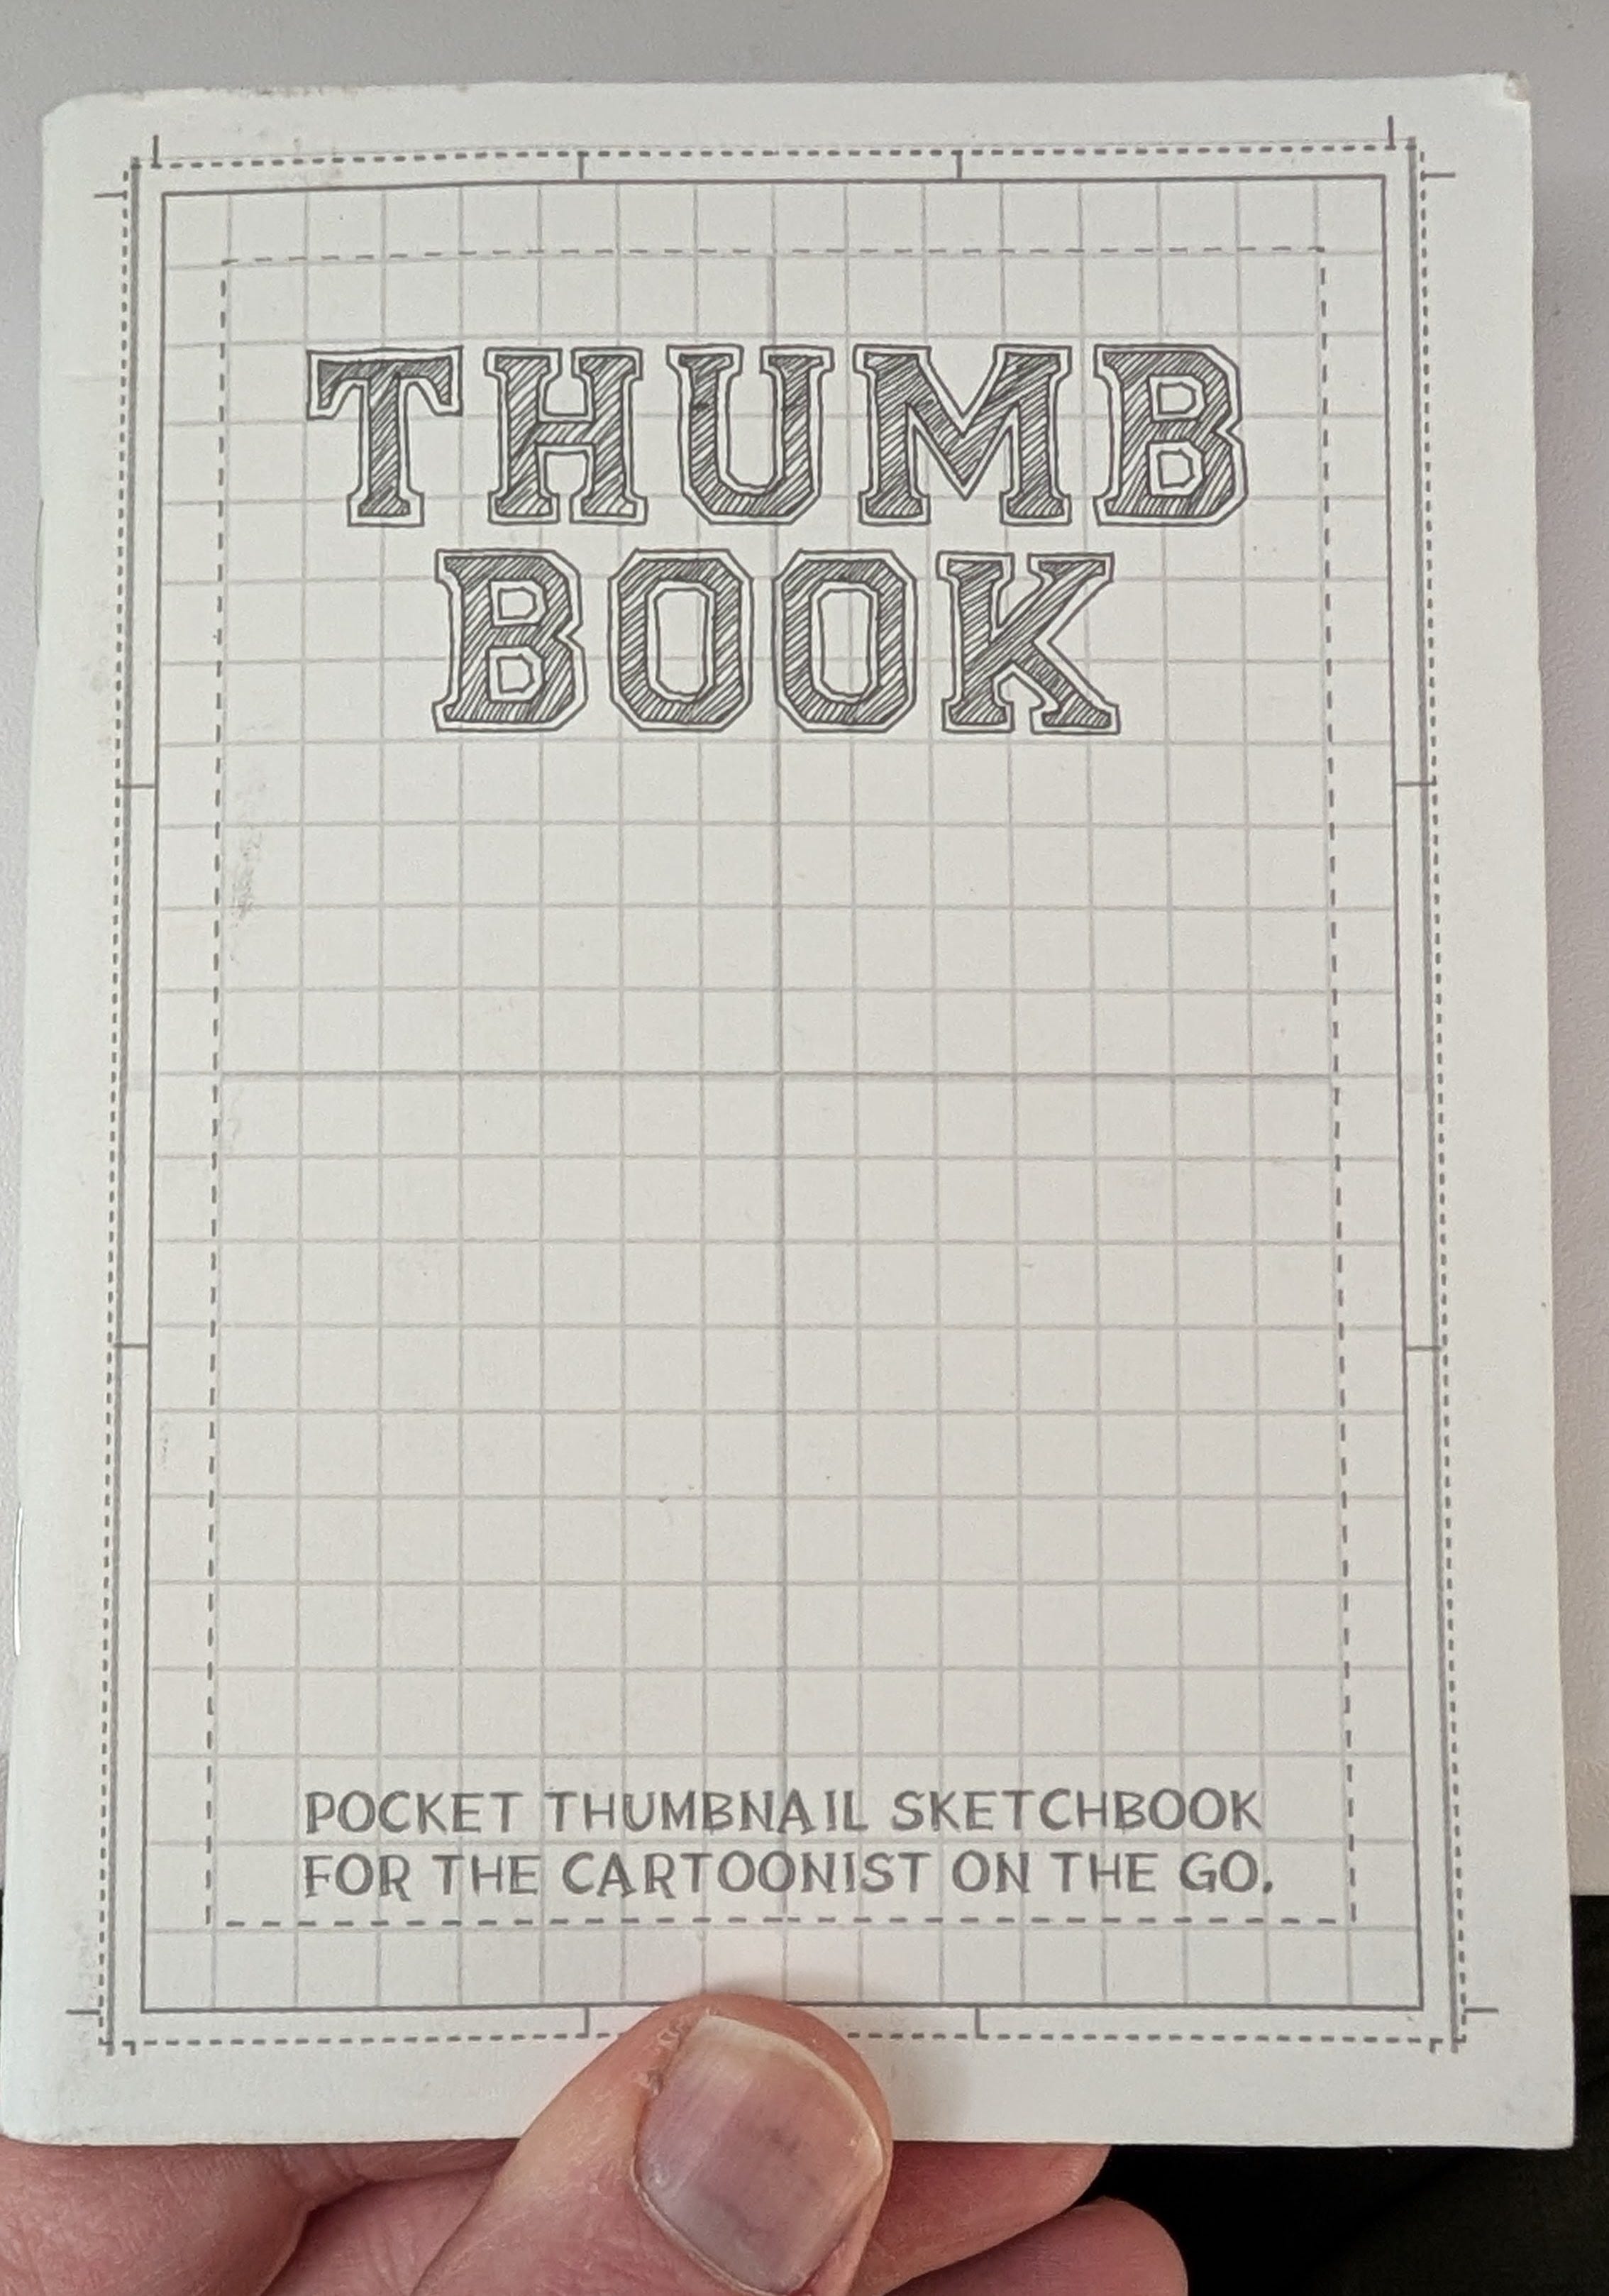
You can do these thumbnails on the printed script, a sketchbook, or any piece of paper, of course, but I wanted to highlight this nifty little tool I found! It’s called a Thumb Book and it’s made by cartoonist Jeff McComsey. Here’s what the interior looks like:
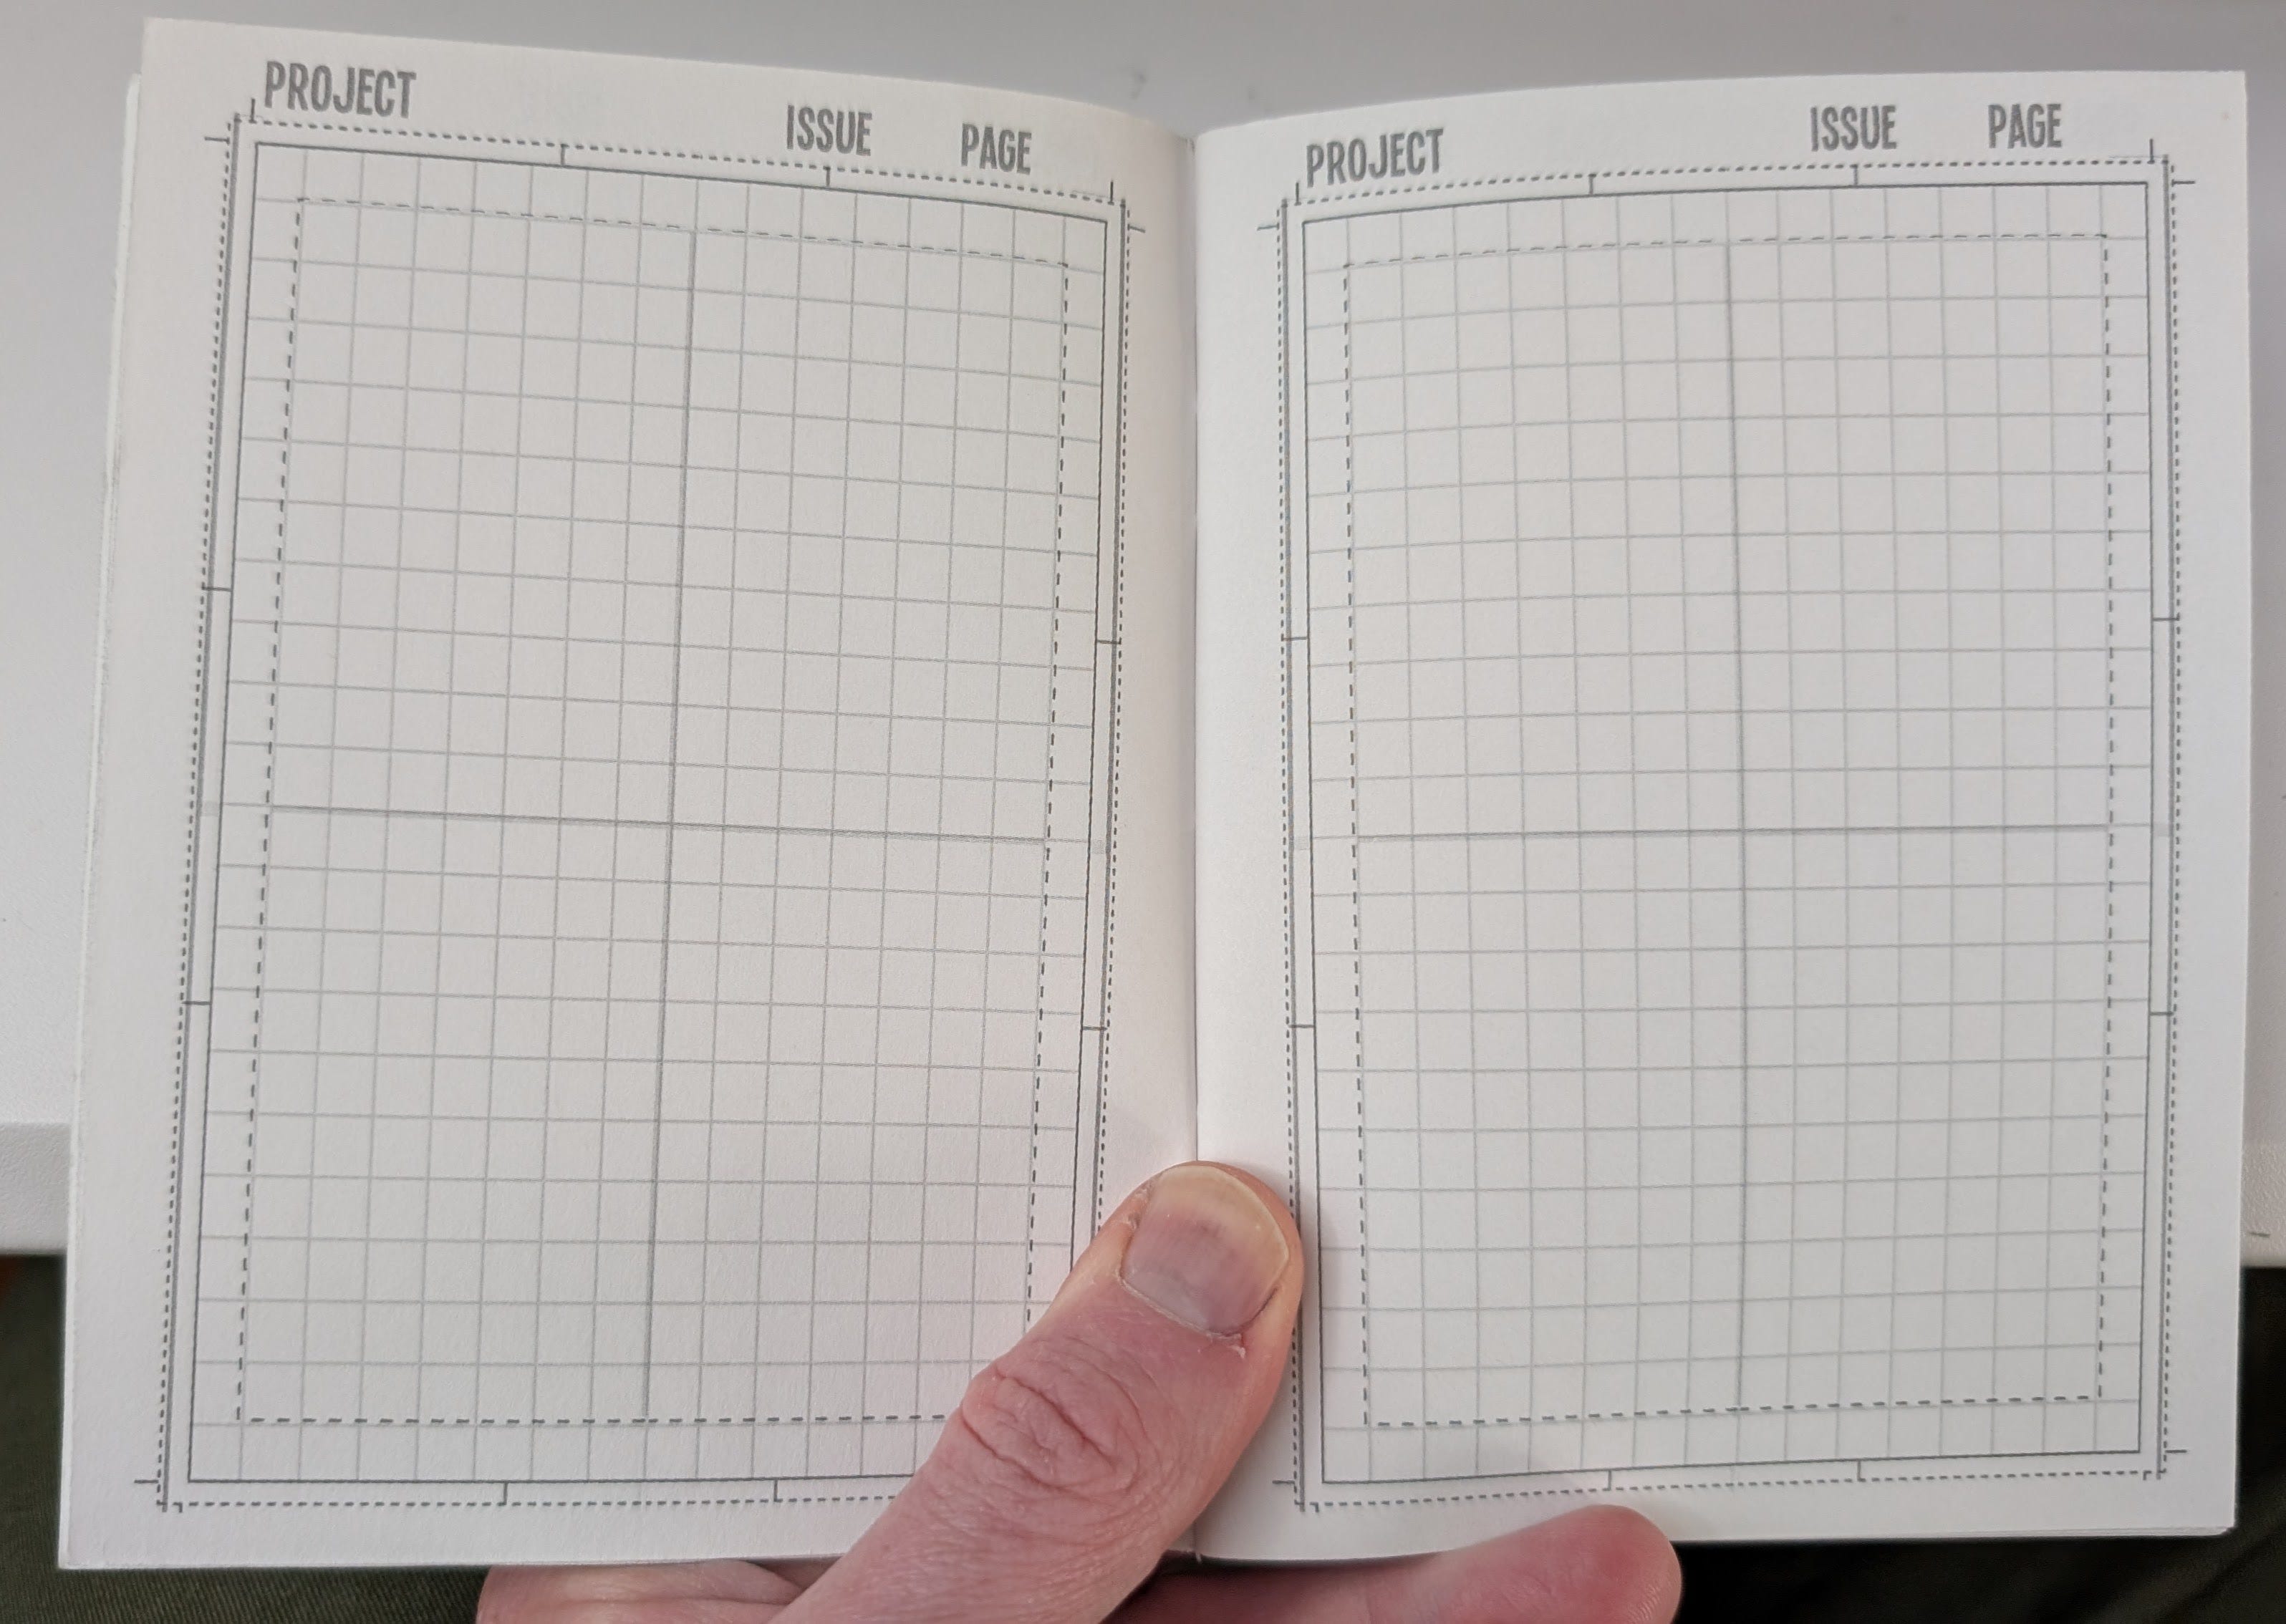
Pre-printed at the dimensions of a US-size comic page, marked up with a grid and indicators that split the page into halves, quarters and thirds, it’s a great tool for working out layouts! Here’s a picture of my thumbnail for the first page of issue four:
I picked up a pack of five a few years ago through Kickstarter, but Jeff now sells them through his Etsy store.
Get yours at etsy.com/shop/thumbbooks and tell Jeff that Steamroller Man sent ya!
Kickstarter Update!!
I can hardly believe the Kickstarter campaign is heading into its FINAL WEEK!! It’s gone by so quickly, but maybe it’s just seemed that way because I’ve been really busy at work, and had other family stuff going on, all at the same time.
I don’t want to jinx anything but THE CAMPAIGN JUST HIT $7000!!
If you’ve backed the campaign already, THANK YOU so much! You’ve helped achieve the latest Stretch Goal, and every physical backer will be getting a neat Steamroller Man cloth patch!


But that’s not all! The NEXT Stretch Goal is tantalizingly close!!
We are currently at 142 backers! If we reach 150 backers, all packages I mail out will include this fun enamel pin, based on the Gingerbread Golem’s “OBEY” heart!
ONLY 8 BACKERS AWAY!
Today I’m revealing the final Hidden Variant Cover, and it’s one that took a LOT of research! I’m actually expecting the shipment of these books to be delivered TODAY, so I’ll be doing a Substack Live video unboxing when they arrive!
Until then, Keep Rolling!
Matt

I love a writing process post. Like you I am not a writer, so anything that can edge me along on my development as a writer is fantastic to see, and there's certainly something to apply to my practice here! Thank you for sharing!
Love the process Matt! I started using stacks of notecards, too, after reading about how Chris Carter and Vince Gilligan plot out all their work.